Flooring Installations and Maintenance
Detail-Oriented Hardwood Installation and Maintenance
Global Hardwood & Supplies follows a precise sequence with our flooring installations to ensure you get the most out of your flooring for as long as possible. Learn more about our flooring installations and view examples of our process below, and visit Global Hardwood & Supplies today for a free installation estimate.
View the Steps to Our Installation Process
Step 1: Choose the Boards
Choose the hardwood species and board widths for the room installation.
Step 2: Measure the Room
Measure the width and length of the room and multiply by the square footage. Allow 10-15 percent extra for irregular boards and cutting mistakes when ordering hardwood flooring.
Step 3: Check for a Squeaky Floor
Check the subfloor. The minimum requirements are a 3/4″ plywood sub-floor. Make sure no squeaks are coming from the floor. If there’s a squeak, screw a long drywall screw into the subfloor and joist where the squeak occurs. Remove shoe molding from the room and sweep and clean thoroughly.
Step 4: Roll Out the Vapor Barrier Paper
Roll out strips of vapor barrier paper, allowing at least a 4″ overlap, and staple them securely to the sub-floor. Use 15-pound tar paper or felt. It is relatively inexpensive—Mark the joists' locations with a pencil along the baseboards.
Step 5: Start Installation
Start the installation at the longest unobstructed wall. Remove the shoe molding, and snap a chalk line 3/8″ out from the baseboard. This extra space allows for the expansion of hardwood flooring in hot, humid weather and contraction in colder, drier seasons.
Step 6: Place the Boards
Begin by selecting a longboard to start the first row. Pick one that is straight. Align the board's edge with the chalk line and drill pilot holes through the hardwood plank into the subfloor and joist. Face-nail each board at the point of every joist and set the nail with a nail set. Face-nail the entire first row, and remember to keep the board lengths random.
Step 7: Staple the Boards
When installing up to a threshold, it is optional to make cuts exact. Place the gun lip over the board's edge using the pneumatic nail gun and strike firmly with the mallet, driving the staple into the tongue of the hardwood plank. Return after the floor's installation, and use a circular saw to cut across for a precise cut.
Step 8: Cutting the Baseboard
When cutting along the baseboards, select a piece that will fit in there, leave 10 or 12 inches more, and cut it off. Use the other part at the beginning of the next row. You don’t always have to get it in there real close and throw out the end piece. That will save some time and waste.
Step 9: Fill in the Gaps
Be sensitive to the way the ends fit together. The flooring is end-matched when one end has a tongue and the other has a groove. Always cut the wall end of the wood so you do not cut off the groove that fits the tongue, which will result in a big gap.
Step 10: Work Around Clearance Issue
As you near the opposite wall, clearance for the pneumatic nail gun again becomes an issue. Drill pilot holes and hand-nail the boards until there is no longer clearance for the drill and hammer.
Step 11: Fit Last Board Into Place
If there’s a narrow gap for the last board, take a measurement and rip (cut length-wise) the last board to fit into place. Leave a 3/8″ gap at the end wall for expansion and contraction space.
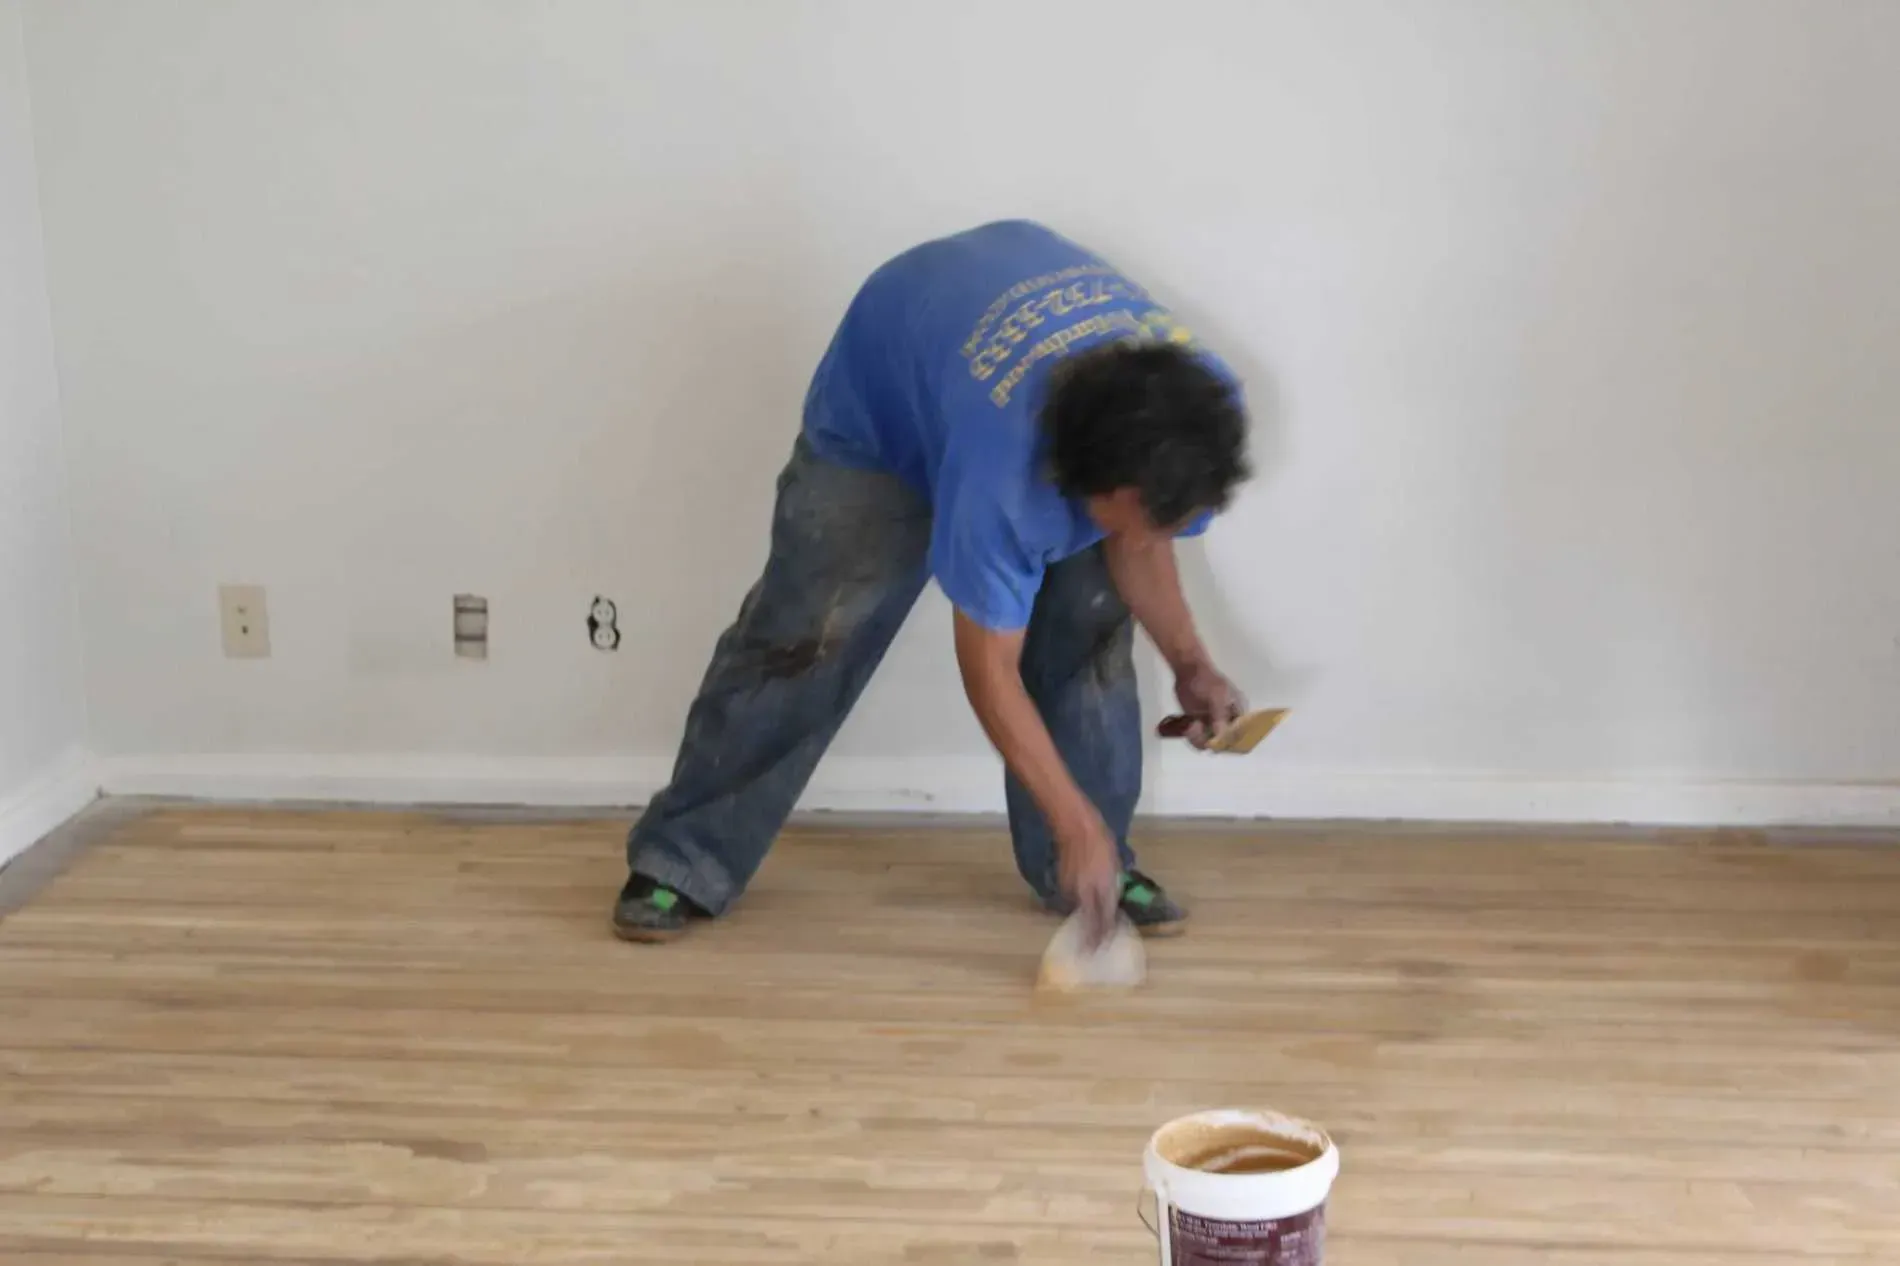
Step 12: Fill Holes With Wood Putty
Replace shoe molding in the room and putty all the nail holes that have been face-nailed. Be sure to get wood putty that matches the floor. Fill the hole and wipe off the excess.
Step 13: Hardwood Floor Maintenance
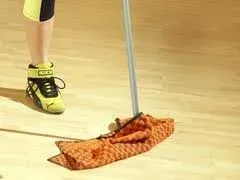
Maintenance is easy for a pre-finished hardwood floor — keep grit off the surface by sweeping regularly, use a flooring cleaning kit (alcohol-based), and spray on and wipe off with a damp cloth. Hardwood floors also help cut down on dust mites.
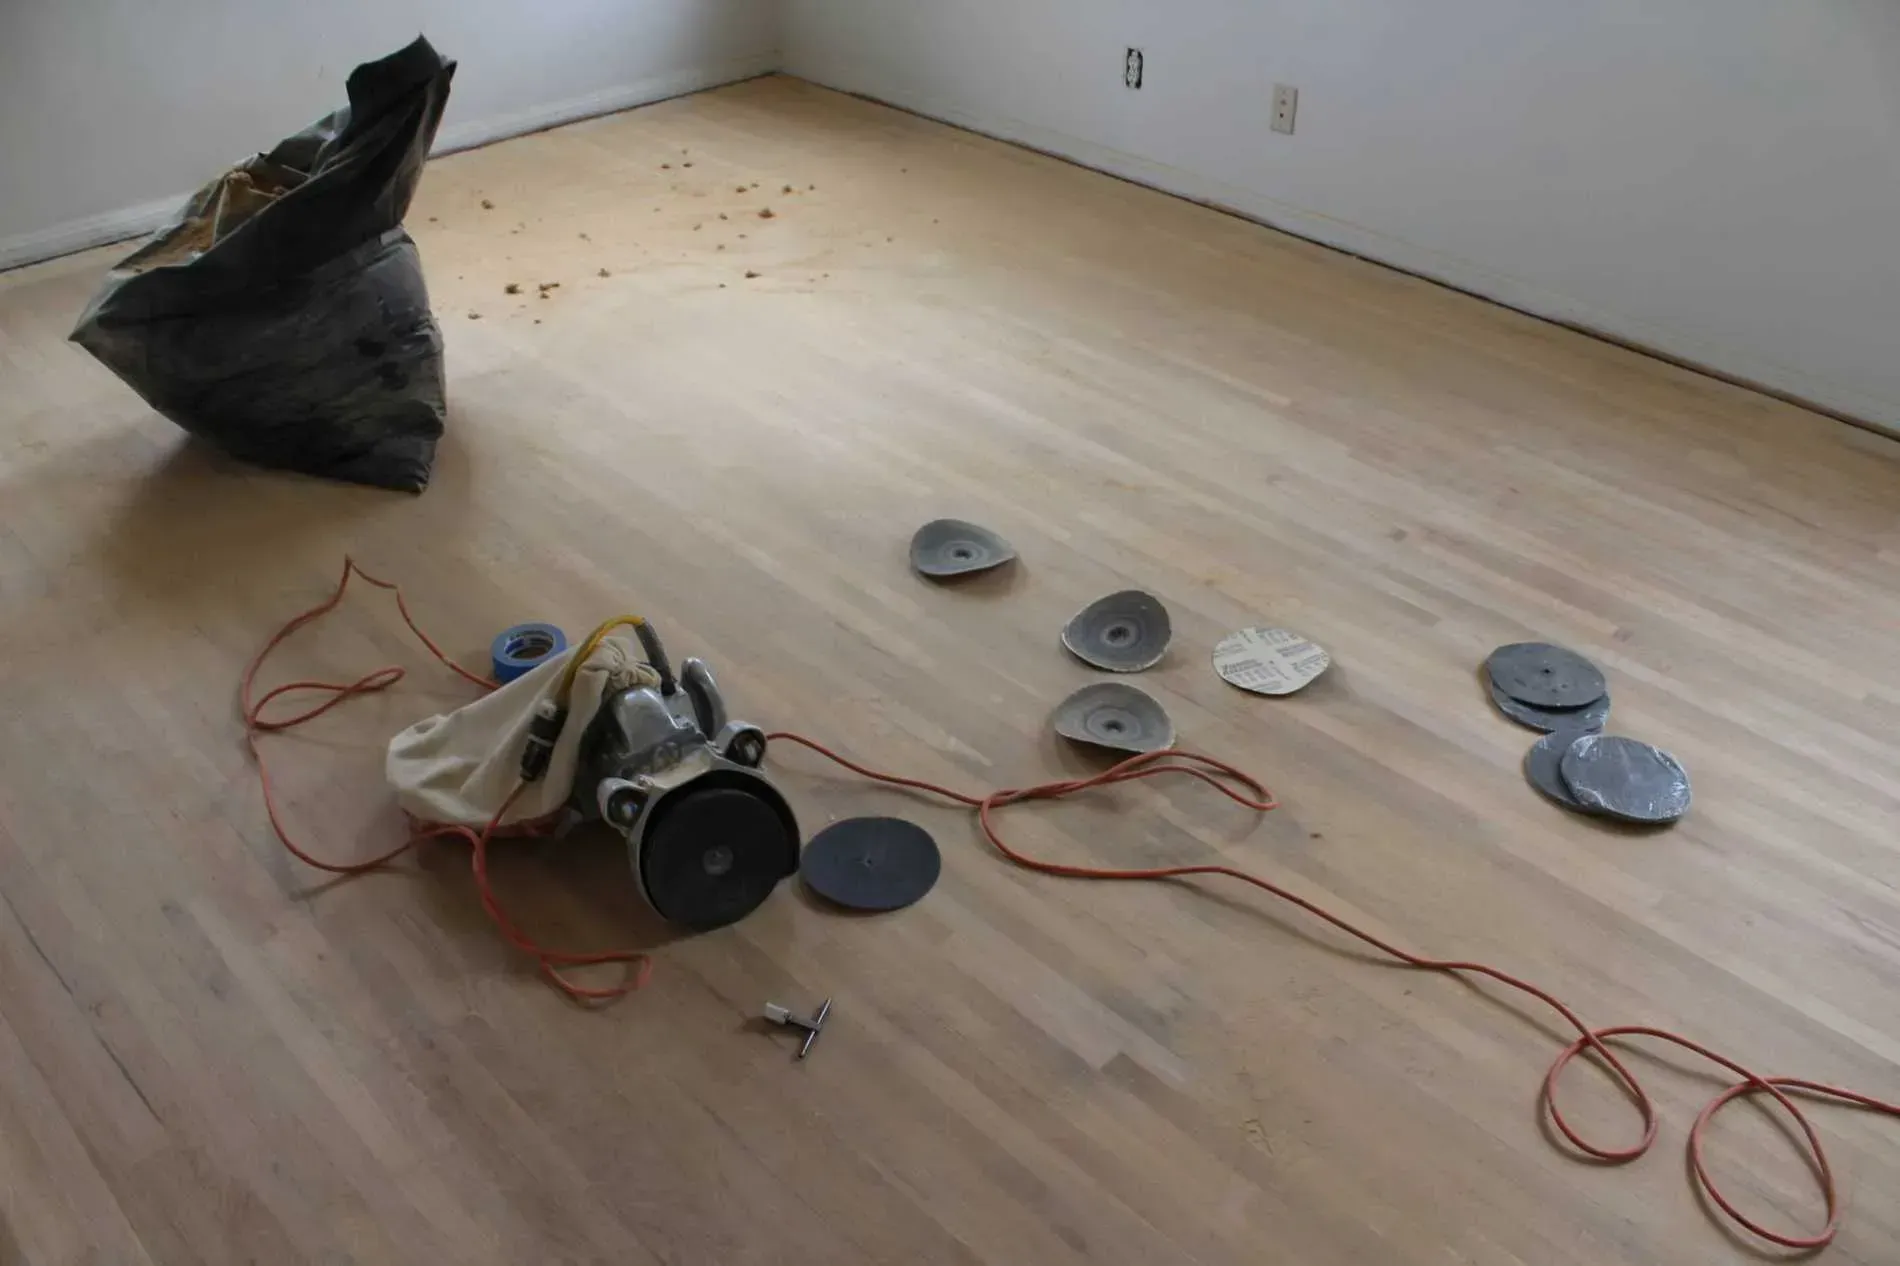
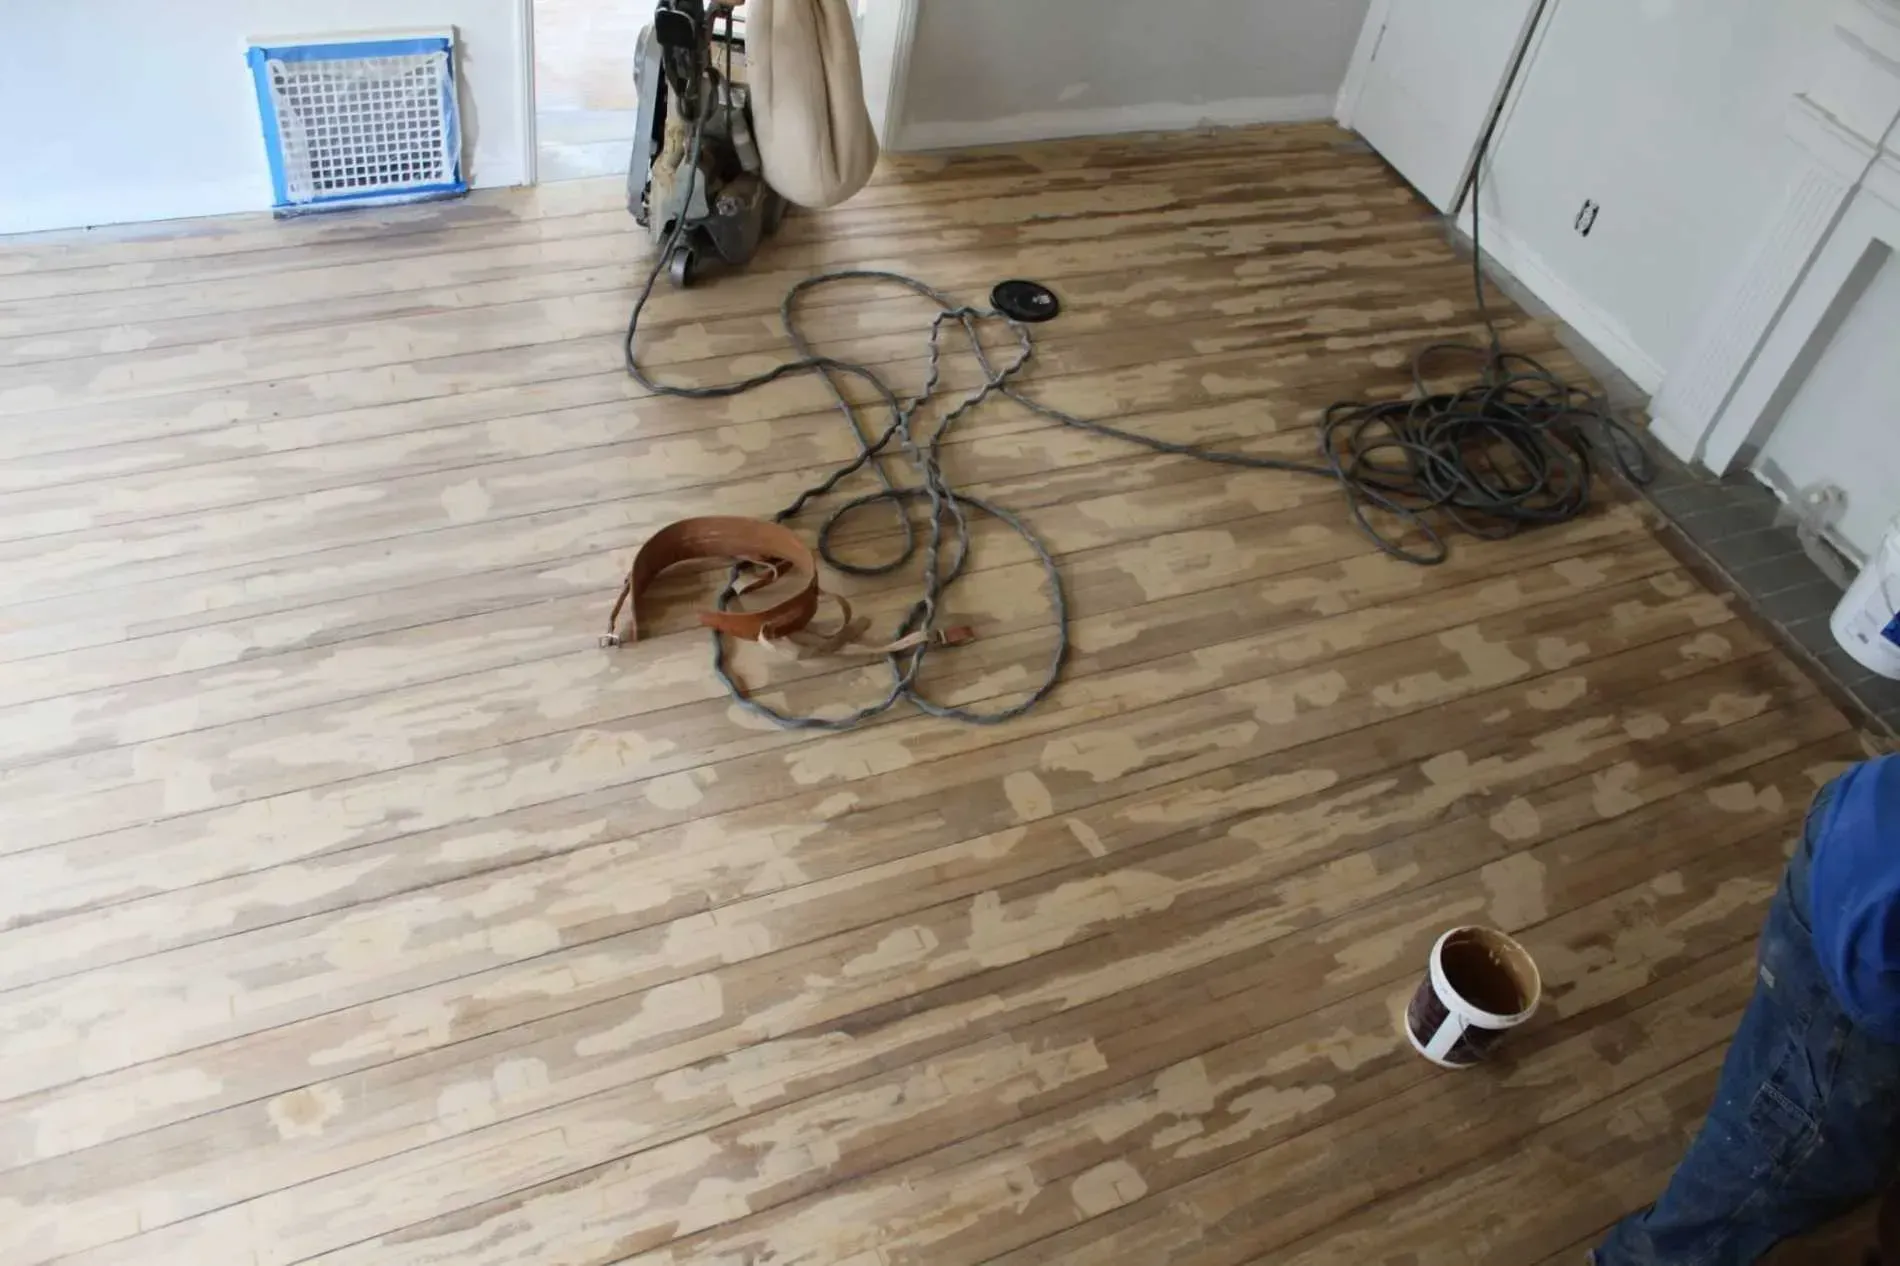
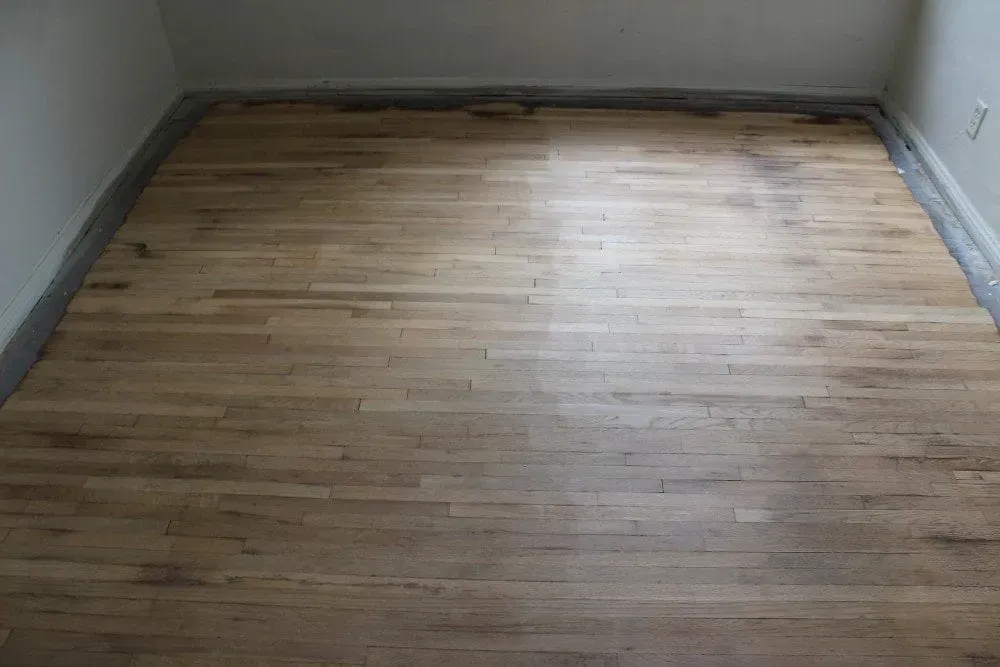
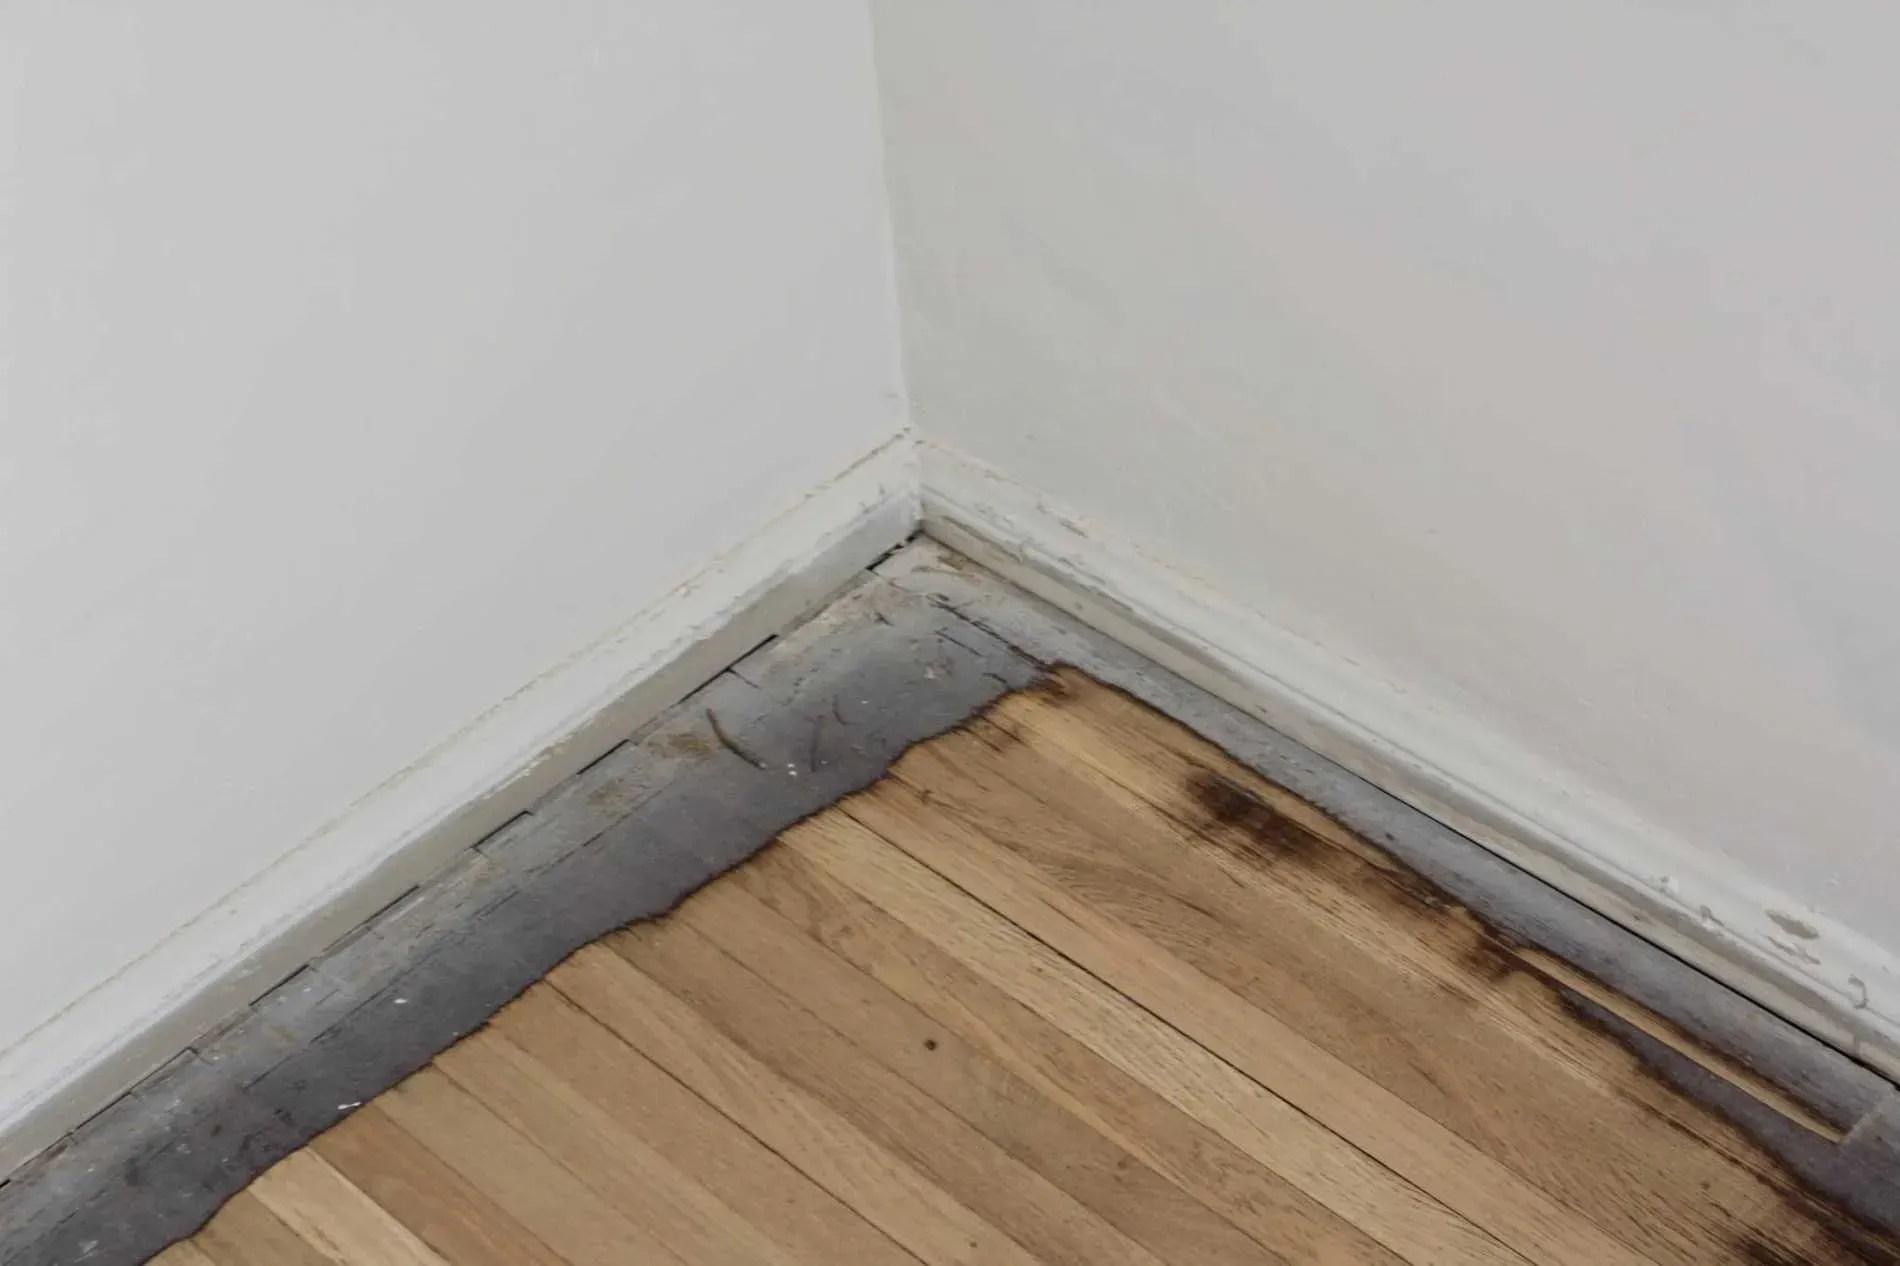
Flooring Installation Gallery
How to Care for Laminate Flooring
Warning!! Wet mopping should be avoided, as should the use of soap and abrasive cleaners. Instead, cleaning agents that have been specially formulated for laminate floors should be used. Typically, they are of the ‘spray-on’ variety, and use of them will entail spraying the cleaning solution onto a suitable soft cloth or dry mop which is then used to wipe the laminate surface clean. Both, the manufacturer's brands as well as generic types are available from flooring stores and supermarkets. Usually, there will be no harm in using a quality generic brand for cleaning.
A tough coating is applied to all laminate floors and it is this that provides long-lasting protection against scratching and gouging. However, this doesn’t mean that it will be impossible to damage the surface of your floors! Steps should be taken to eliminate the possibility of damage-causing objects coming into contact with your floor in the first place. Dirt brought in underneath footwear is one of the biggest causes of scratches and an effective way of keeping it at bay is to place wipe mats at your entrances, or even enforce a ‘no shoes’ rule if it's in a household.
The best and easiest way to protect your laminate floor from this problem is to use felt protector pads under the feet of furniture items. Fabric-backed caster cups placed under items with casters will also help in this regard. Furniture items should never be dragged across laminate flooring for this may cause deep gouging, which again is likely to be cause for premature repair or replacement. Always be sure to lift heavy items when repositioning them.
How to Care for Engineered Flooring
Caring for engineered flooring is a very simple and trouble-free process as long as it is a part of your regular cleaning routine. Keeping the floor as free of dirt, debris, grit, and spills as possible will maintain and retain the original look of your flooring for the longest period. In this, engineered flooring care is almost the same set of processes as the care of any other wood flooring. Here is a step-by-step guide for taking care of your engineered floors: Keep the engineered flooring swept, clean, and dry daily. For vacuum, use a vacuum cleaner with a soft flooring attachment, or a broom.
A damp mop can be used and the floor should be dried immediately after the mop. Similarly, spills must be wiped off as soon as they occur. Engineered flooring is quite resistant to moisture but excessive water or liquid can cause damage to any flooring including engineered floors.
How to Care for Hardwood Flooring
Hardwood floor protection is essential to maintaining your floors but doing it correctly is the difference between preserving them and ruining them. The problem that most people face is simply knowing what to do to take care of their floors. The fundamentals of learning this though, are quite simple. You will find a wide range of advice out there. The best way to tell what the right advice is and what isn’t is simply to know your product.
It is safe to say that most flooring will need simply a dry mop to clean them. When it comes to those that wash hardwood floors, it is important that you only use non-abrasive products as well as equipment. And, in most cases, a damp mop is all it takes to clean the floors thoroughly. Hardwood floor cleaners are another type of cleaning method that is misunderstood. On the market today you will find many products claiming to be safe to use on hardwood floors. That doesn’t mean you should use them.
"Our home flooring project and outdoor deck installation went wonderfully, thanks to Global Hardwood & Supply. Scheduling was easy, and they arrived on time. Very knowledgeable about all kinds of flooring, including decks and aspects of refinishing them.
The staff gave me great suggestions and completed their work promptly. Excellent workmanship. True professionals with a fantastic selection of quality products."
- Lee M.
Free Estimates for All Flooring Installations
(323) 732-3333